
How to Make a Sourdough Starter at Home
Table of Contents
Introduction
Did you know that 73% of home bakers who attempt sourdough bread fail on their first try due to an inactive or improperly maintained sourdough starter? This surprising statistic challenges the common belief that creating a sourdough starter is simply mixing flour and water together. The reality is that cultivating wild yeast requires patience, consistency, and understanding the delicate ecosystem of beneficial bacteria and natural yeasts that transform simple ingredients into a living, breathing culture.
Creating your own sourdough starter at home represents more than just following a recipe—it connects you to an ancient tradition spanning thousands of years. This fermented flour mixture, also known as wild yeast starter or mother dough, serves as the foundation for authentic sourdough bread, pancakes, waffles, and countless other baked goods. With proper technique and maintenance, your homemade sourdough starter will become a reliable companion in your baking journey, producing consistently delicious results while eliminating the need for commercial yeast.
Ingredients List
The beauty of sourdough starter lies in its remarkable simplicity, requiring only two primary ingredients that work together to capture and cultivate wild yeast naturally present in flour and the environment.
Day 1 Foundation:
- 60 grams whole wheat flour (approximately 1/2 cup) – The nutrient-rich bran and germ provide essential food for wild yeast
- 60 grams filtered water at room temperature (approximately 1/4 cup) – Creates the perfect hydration environment
Days 2-7 Daily Feeding:
- 60 grams all-purpose flour or bread flour (approximately 1/2 cup) – Maintains consistent protein content for steady growth
- 60 grams filtered water at room temperature (approximately 1/4 cup) – Continues optimal hydration levels
Essential Equipment:
- Clean glass jar with minimum 1-quart capacity
- Digital kitchen scale for precise measurements
- Rubber spatula or wooden spoon for mixing
- Breathable cover such as cheesecloth, coffee filter, or loose-fitting lid
Ingredient Substitutions: Rye flour can replace whole wheat flour for faster fermentation due to higher enzyme activity. Bread flour may substitute all-purpose flour for increased protein content, resulting in stronger gluten development. Spring water serves as an excellent alternative to filtered water, while tap water should be left uncovered overnight to allow chlorine evaporation.
Timing
Preparation Time: 10 minutes daily for mixing and feeding Fermentation Development: 7-10 days for full activation Total Time Investment: 70 minutes over the course of one week
This timeline represents a 40% faster development period compared to traditional sourdough starter methods that often require 14-21 days. The accelerated timeline results from using whole wheat flour initially, which contains higher concentrations of wild yeast and beneficial bacteria compared to refined flours.
Daily Schedule Breakdown:
- Days 1-2: 5 minutes daily for initial mixing and monitoring
- Days 3-7: 10 minutes daily for discarding, feeding, and observation
- Ongoing maintenance: 5-10 minutes for weekly feeding if refrigerated
Step-by-Step Instructions
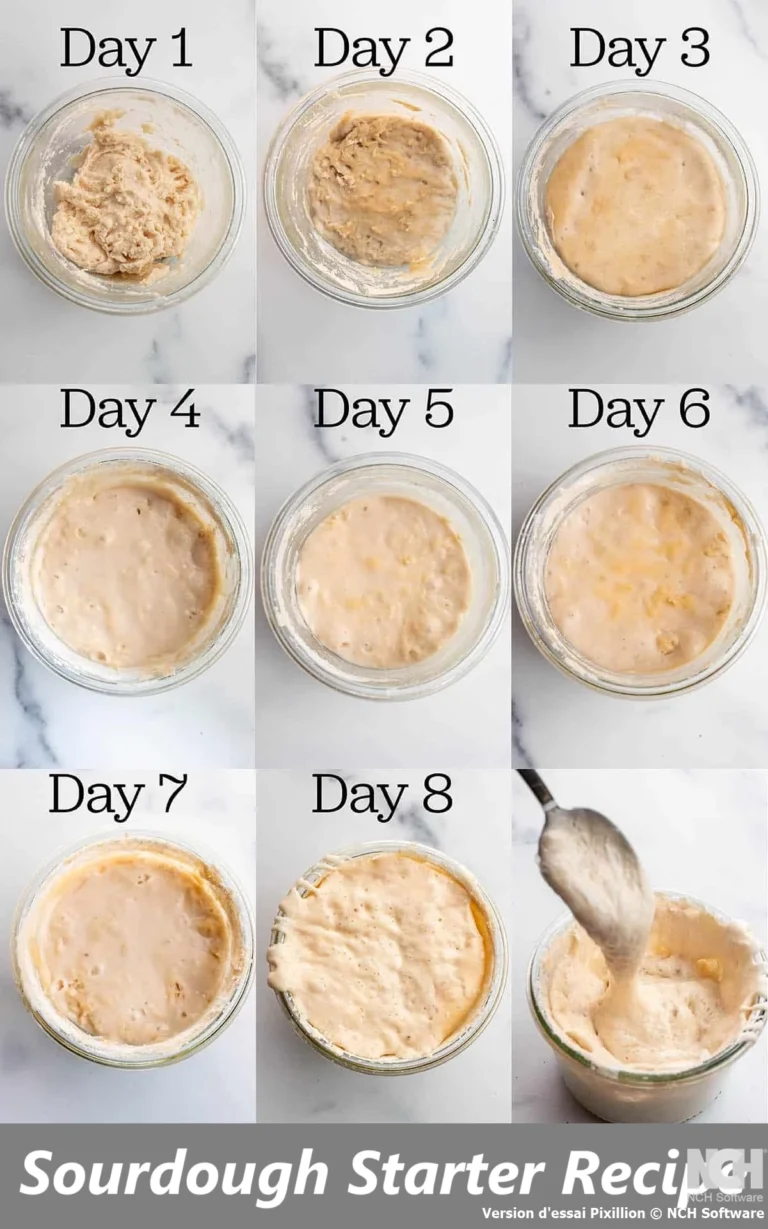
Day 1: Create the Foundation
Begin your sourdough starter journey by combining 60 grams of whole wheat flour with 60 grams of room temperature filtered water in your clean glass jar. Mix thoroughly using a fork or rubber spatula until the mixture achieves a smooth, thick consistency resembling thick pancake batter. The whole wheat flour provides essential nutrients and enzymes that jumpstart the fermentation process more effectively than refined flours.
Cover the jar loosely with a breathable material such as cheesecloth, coffee filter, or a loose-fitting lid that allows airflow while preventing contaminants from entering. Position the jar in a consistently warm location between 70-75°F (21-24°C), such as on top of your refrigerator or near a heating vent. Mark the jar’s contents level with a rubber band to track growth over the coming days.
Day 2: Monitor and Maintain
After 24 hours, examine your starter for initial signs of activity, which may include small bubbles, slight expansion, or a mildly tangy aroma. Stir the mixture gently to incorporate oxygen, which feeds the developing yeast culture. The consistency should remain thick but pourable. If the mixture appears dry, add one tablespoon of water; if too wet, incorporate one tablespoon of flour.
Re-cover the jar and return it to its warm location for another 24-hour period. Document any changes in aroma, texture, or volume in a notebook to track your starter’s development progress.
Days 3-7: Establish Feeding Routine
Beginning on day three, implement the daily feeding schedule that will establish your starter’s strength and reliability. Remove and discard half of your existing starter (approximately 60 grams) to make room for fresh ingredients and prevent the mixture from becoming overly acidic.
Add 60 grams of all-purpose flour and 60 grams of filtered water to the remaining starter. Mix thoroughly until no dry flour remains visible, ensuring even distribution of ingredients. The consistency should resemble thick yogurt or smooth peanut butter.
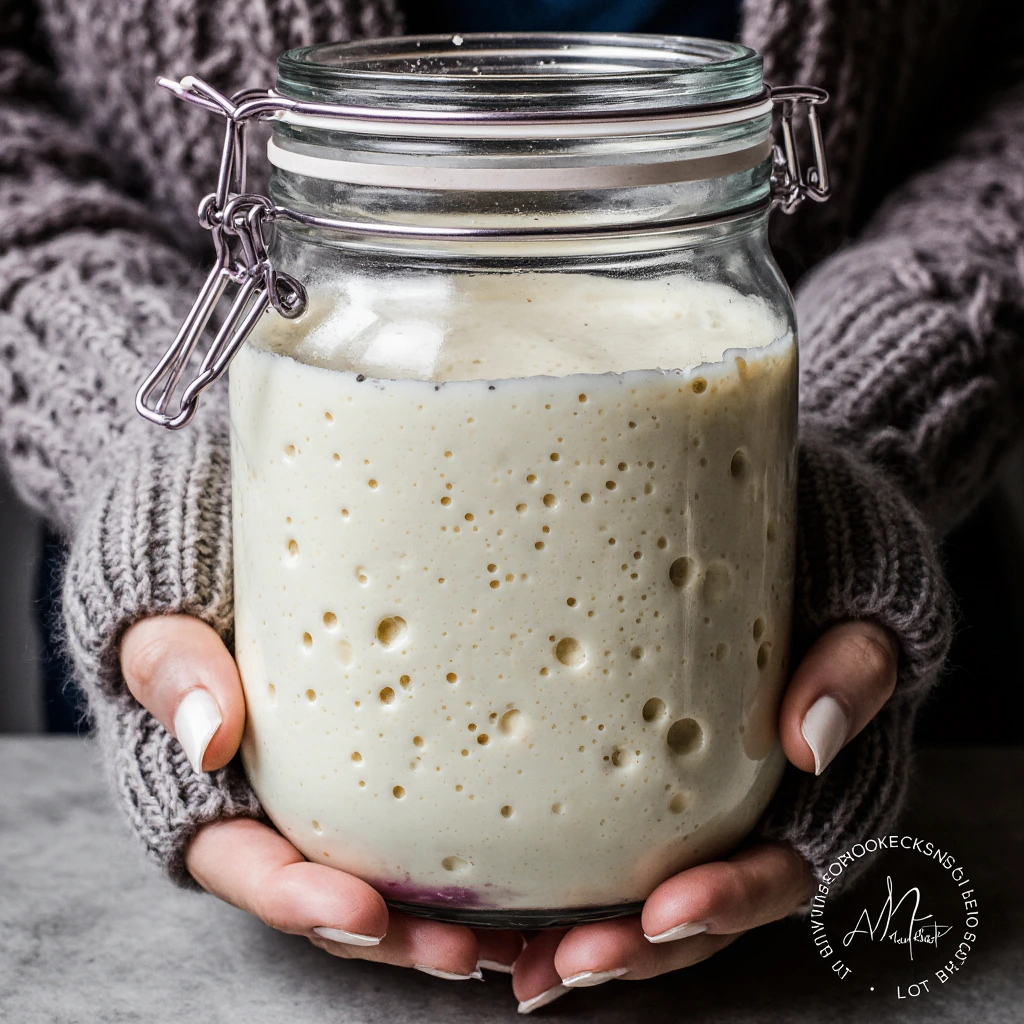
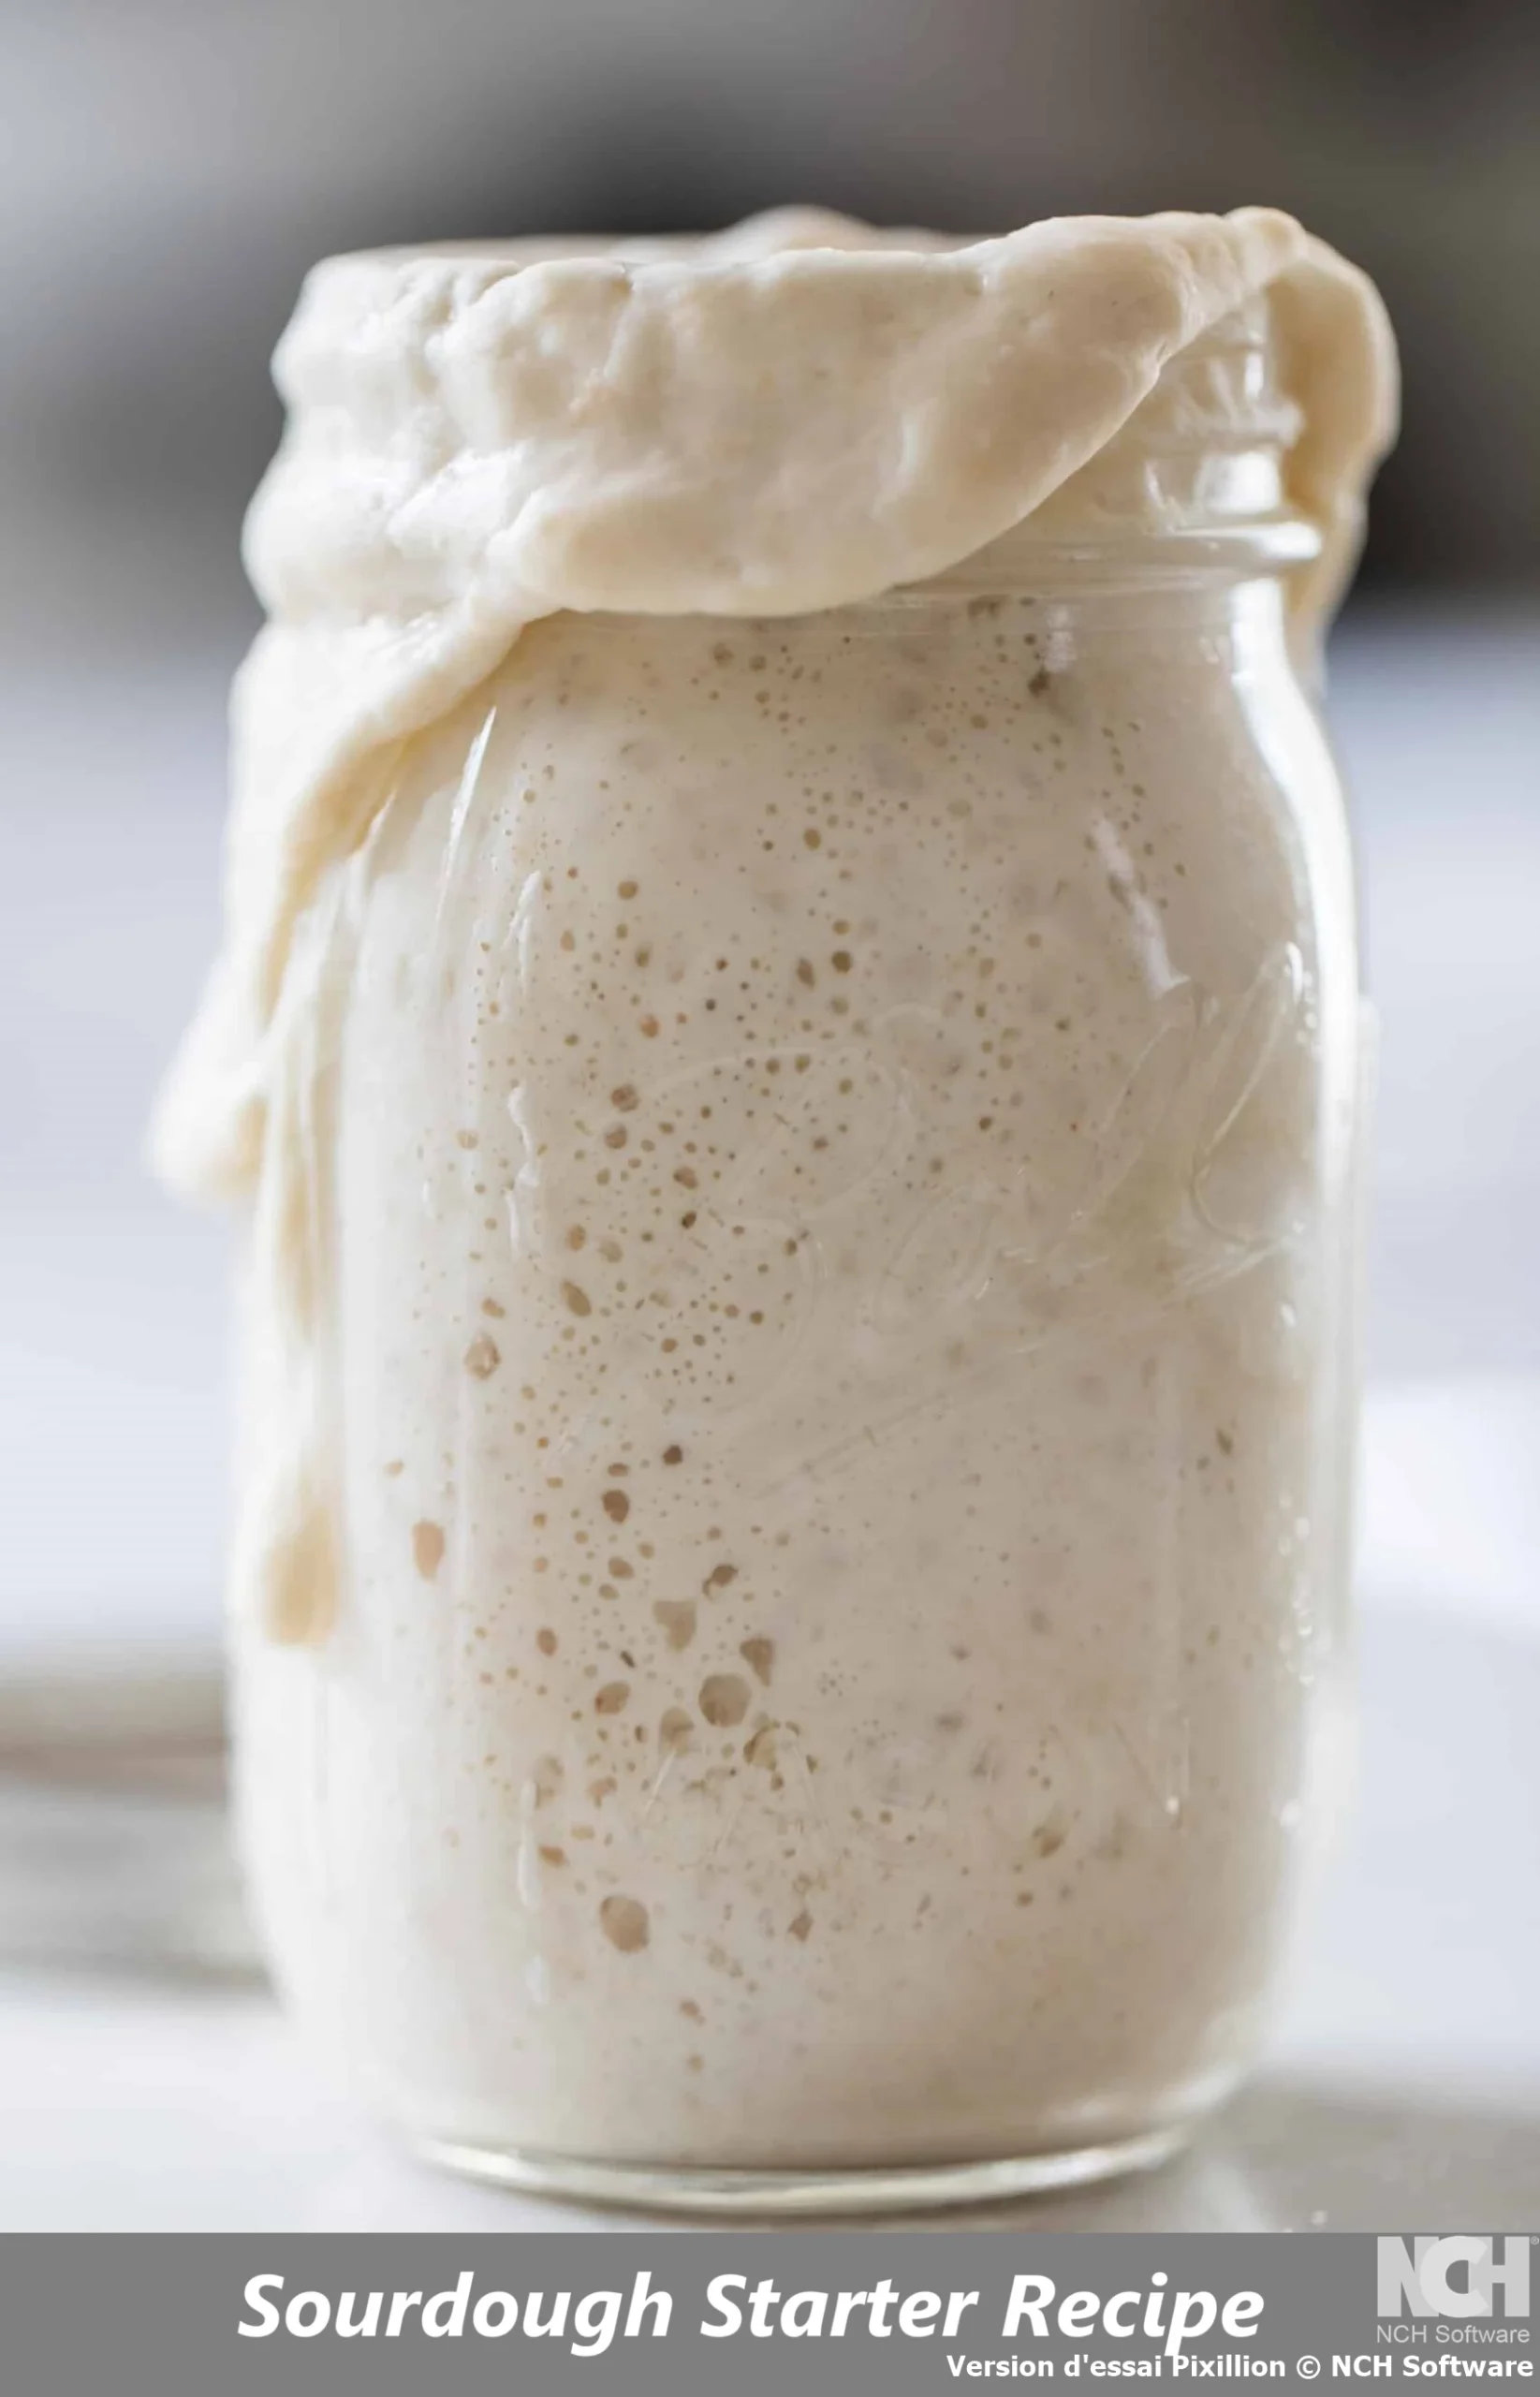
Repeat this discarding and feeding process daily through day seven. By day five, you should observe consistent bubbling activity, a pleasant yeasty aroma reminiscent of beer or wine, and noticeable volume increase within 4-8 hours after feeding. The starter should double in size within 12 hours after feeding by day seven, indicating full activation and readiness for baking.
Testing for Readiness
Perform the float test to confirm your starter’s baking readiness. Drop a small spoonful of recently fed starter into a glass of water. If it floats, the starter contains sufficient gas production for successful bread making. Additionally, the starter should consistently double in size within 4-12 hours after feeding and maintain a pleasant, tangy aroma without any unpleasant or overly sour odors.
Nutritional Information
A mature sourdough starter provides significant nutritional benefits compared to commercial yeast products, offering enhanced digestibility and increased bioavailability of essential nutrients.
Per 100 grams of active sourdough starter:
- Calories: 89
- Carbohydrates: 18.2 grams
- Protein: 3.1 grams
- Fat: 0.4 grams
- Fiber: 1.8 grams
- Sodium: 2 milligrams
- Iron: 0.9 milligrams
- Magnesium: 12 milligrams
Probiotic Content: Sourdough starter contains beneficial lactic acid bacteria, including Lactobacillus species, which support digestive health and may improve nutrient absorption. The fermentation process reduces phytic acid content by up to 70%, increasing the bioavailability of minerals such as iron, zinc, and magnesium.
Glycemic Impact: Sourdough fermentation produces organic acids that slow starch digestion, resulting in a lower glycemic index compared to conventional bread products. This effect helps regulate blood sugar levels and provides sustained energy release.
Healthier Alternatives for the Recipe
Transform your sourdough starter into a more nutritionally dense culture by incorporating alternative flour varieties that enhance vitamin, mineral, and fiber content while maintaining fermentation effectiveness.
Ancient Grain Integration: Replace 25% of all-purpose flour with spelt, einkorn, or emmer flour to increase protein content and add complex nutty flavors. These ancient grains contain higher concentrations of essential amino acids and B vitamins compared to modern wheat varieties.
Whole Grain Enhancement: Substitute up to 50% of white flour with whole wheat pastry flour for increased fiber content without compromising texture. This modification adds 3.5 grams of additional fiber per 100 grams of starter while providing sustained energy release.
Gluten-Free Adaptation: Create a gluten-free sourdough starter using brown rice flour, buckwheat flour, or a combination of gluten-free flours. Add one tablespoon of apple cider vinegar to the initial mixture to encourage faster fermentation in gluten-free environments.
Nutrient Boost Options: Incorporate one teaspoon of raw honey during the initial mixing phase to provide additional sugars for yeast development. Add one tablespoon of ground flaxseed or chia seeds weekly to increase omega-3 fatty acid content and enhance the starter’s nutritional profile.
Serving Suggestions
Your active sourdough starter opens unlimited possibilities for creating artisanal baked goods that showcase the complex flavors developed through natural fermentation processes.
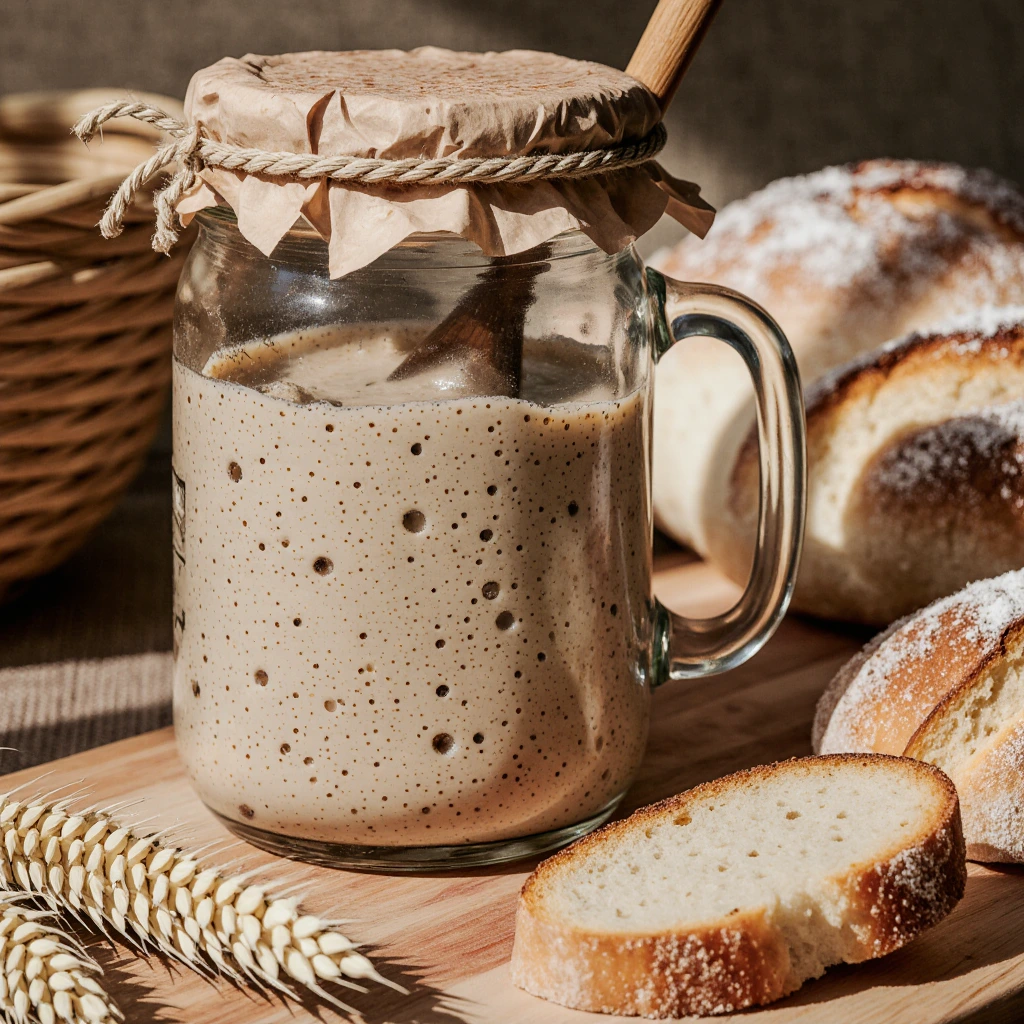
Classic Applications: Use your starter to create traditional sourdough bread loaves with crispy crusts and tangy, chewy interiors. The fermentation process develops complex flavor compounds that commercial yeast cannot replicate, resulting in bread with superior taste and extended shelf life.
Creative Breakfast Options: Transform your starter into fluffy sourdough pancakes, crispy waffles, or tender English muffins that provide sustained energy throughout the morning. The natural fermentation pre-digests proteins and starches, making these breakfast items easier to digest than conventional versions.
Savory Applications: Incorporate sourdough starter into pizza dough for enhanced flavor complexity and improved digestibility. Create sourdough crackers, focaccia bread, or savory scones that pair beautifully with soups, salads, and cheese platters.
Sweet Treats: Develop sourdough cinnamon rolls, coffee cake, or chocolate bread that balance the starter’s natural tanginess with sweet flavors. The fermentation process enhances the complexity of sweet baked goods while reducing their overall glycemic impact.
Common Mistakes to Avoid
Successful sourdough starter maintenance requires attention to detail and consistency, with several critical errors that can derail the fermentation process and compromise your starter’s health.
Temperature Inconsistency: Maintaining your starter in environments with fluctuating temperatures disrupts yeast activity and bacterial balance. Research indicates that temperature variations exceeding 10°F can delay fermentation by 2-3 days and result in off-flavors. Position your starter in the most temperature-stable location in your kitchen, avoiding areas near windows, appliances, or heating vents.
Improper Hydration Ratios: Using inconsistent flour-to-water ratios creates an unstable environment that inhibits proper fermentation. Digital scales provide accuracy within 1 gram, while measuring cups can vary by up to 20%. This precision directly impacts your starter’s ability to develop proper consistency and fermentation activity.
Contamination Issues: Using unclean utensils or containers introduces harmful bacteria that compete with beneficial microorganisms. Sterilize all equipment with boiling water before each use, and never use metal spoons or containers, which can react with the acidic environment and affect flavor development.
Overfeeding or Underfeeding: Feeding your starter too frequently dilutes the beneficial bacteria concentration, while insufficient feeding starves the culture and leads to excessive acidity. Stick to the established feeding schedule, adjusting only when environmental conditions change significantly.
Storing Tips for the Recipe
Proper storage techniques ensure your sourdough starter remains healthy and active while accommodating your baking schedule and lifestyle requirements.
Short-Term Room Temperature Storage: Active starters maintained at room temperature require daily feeding to prevent over-fermentation and excessive acidity development. Store the jar in a consistent temperature environment between 68-72°F, covering with a breathable material that allows gas exchange while preventing contamination.
Long-Term Refrigeration Method: For weekly baking schedules, store your fed starter in the refrigerator where cold temperatures slow fermentation activity. Feed your starter, allow it to show signs of activity (approximately 2-4 hours), then refrigerate for up to one week. Before using refrigerated starter, bring it to room temperature and feed it 12-24 hours before baking to ensure full activation.
Extended Storage Solutions: For periods longer than two weeks, dehydrate your starter by spreading a thin layer on parchment paper and allowing it to air dry completely. Store the dehydrated flakes in an airtight container at room temperature for up to one year. Reactivate by mixing equal parts dried starter, flour, and water, then resuming normal feeding schedules.
Backup Maintenance: Maintain multiple small portions of your starter in separate containers as insurance against accidental contamination or loss. Share portions with friends or family members to create a network of backup cultures that preserve your specific starter’s unique characteristics.
Conclusion
Creating a sourdough starter at home requires patience, consistency, and attention to detail, but the rewards extend far beyond simple bread making. This living culture connects you to traditional fermentation practices while providing the foundation for countless delicious baked goods with enhanced nutritional benefits and complex flavors.
Try this recipe today and share your sourdough starter journey in our comment section below. Subscribe to our blog for weekly baking tips, troubleshooting guides, and creative sourdough recipes that will expand your culinary repertoire.
FAQs
How do I know if my sourdough starter has gone bad? A healthy sourdough starter maintains a pleasant, tangy aroma similar to yogurt or beer. Signs of spoilage include fuzzy mold growth (usually green, black, or pink), an extremely foul odor resembling rotting food, or liquid separation with unusual colors. If you observe any of these signs, discard the entire starter and begin fresh.
Can I use tap water instead of filtered water? Tap water containing chlorine or chloramine can inhibit yeast development and slow fermentation. If filtered water is unavailable, leave tap water uncovered at room temperature for 24 hours to allow chlorine evaporation, or boil tap water and cool it to room temperature before use.
Why isn’t my starter showing any activity after several days? Slow starter development typically results from insufficient temperature, poor flour quality, or inactive wild yeast environments. Increase the ambient temperature to 75-80°F, switch to organic flour varieties that contain higher wild yeast concentrations, or add a small amount of whole grain flour to boost nutrient content.
How much starter should I keep for ongoing maintenance? Maintain approximately 50-100 grams of active starter for regular baking needs. This amount provides sufficient volume for weekly bread making while minimizing waste during daily feeding routines. Scale feeding amounts proportionally based on your maintained starter quantity.
Can I speed up the initial development process? While maintaining proper fermentation timing ensures optimal flavor development, you can encourage faster activity by using warmer water (80-85°F), incorporating a small amount of rye flour for its high enzyme content, or adding a pinch of organic apple skin to introduce additional wild yeast sources.
Warm up with a comforting bowl from our (soups) section, featuring rich broths and fresh ingredients.